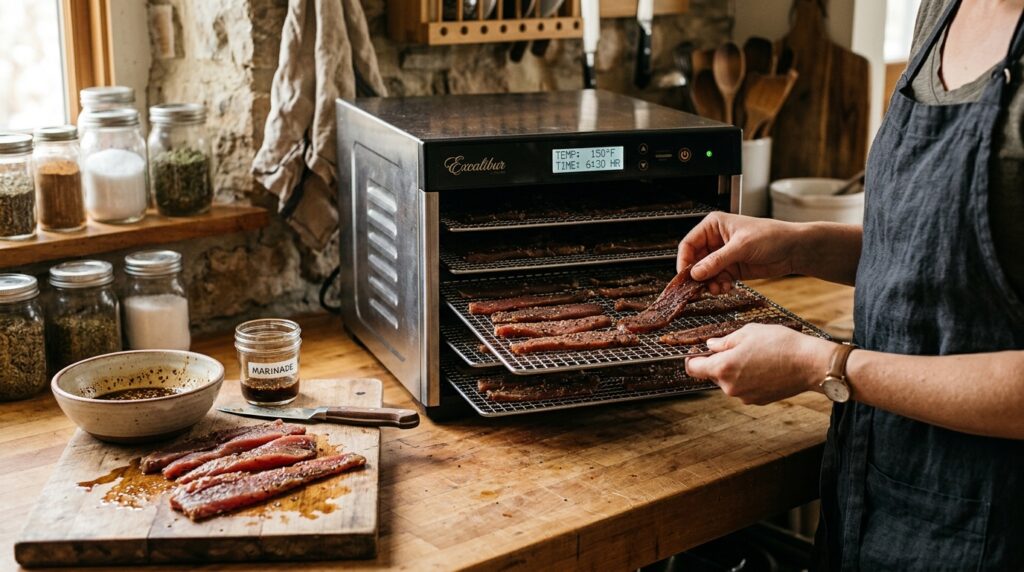
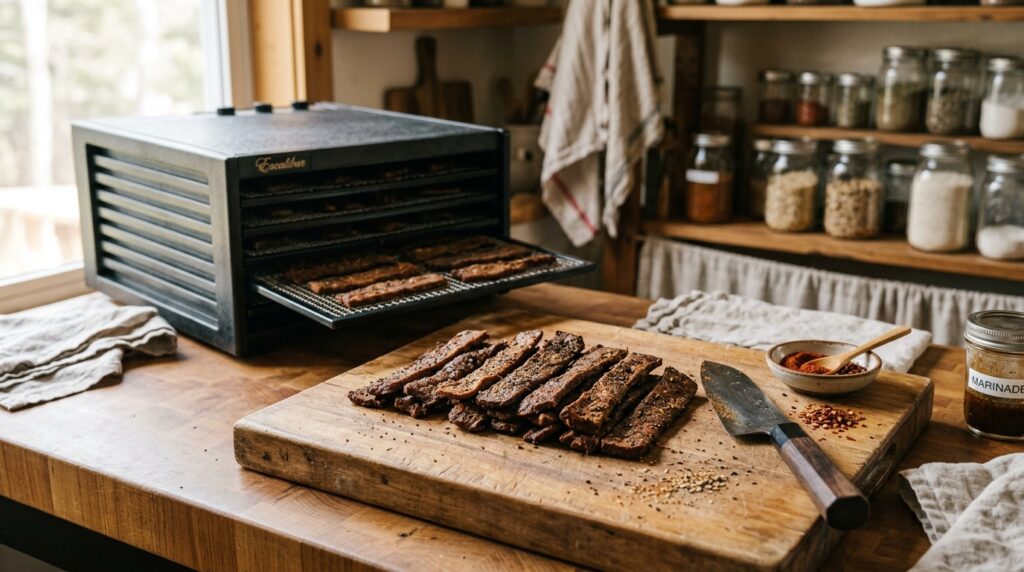
I make jerky in my Milwaukee garage, and yes, my homemade jerky is processed food. Turning a lean roast into salted, dried strips is processing, even when the ingredient list fits on a sticky note. After eight years and more than 400 batches, I care much more about what goes into that process than whether I can make the word disappear.
If you are asking “is jerky processed food?” while holding a bag in the grocery aisle, you probably want two answers: what the classification means, and how to choose a simpler version. Here is how I read the label and carry those choices into a home batch without sacrificing safety or ending up with expensive meat crackers.
The Short Answer
Yes. Beef jerky is processed food and counts as processed meat. Salting, curing, smoking, and drying preserve meat or change its flavor. You do not need artificial preservatives, added sugar, or a factory for that description to apply. The World Health Organization explicitly includes beef jerky among processed meats. Homemade, organic, grass-fed, and sugar-free jerky still belong in that category.
Processed does not automatically mean ultra-processed. Those terms answer different questions. Under the NOVA classification system, straightforward salted meat can fall into the processed group, while formulations containing protein isolates, flavor enhancers, or other characteristic industrial ingredients may fall into the ultra-processed group. The NOVA researchers describe the distinction in terms of ingredients and processing purpose. Ingredient count alone is not a reliable test: ten ordinary spices are different from ingredients used to reconstruct a product.
What that means for eating it
Simple ingredients do not erase the health findings associated with processed meat. WHO reports sufficient evidence that processed-meat consumption causes colorectal cancer; its classification describes the strength of the evidence, not a claim that every carcinogenic exposure carries equal risk. I treat jerky as an occasional, portioned snack, rather than an unlimited food because it contains protein. Choosing less sodium or added sugar can be useful, but neither choice makes jerky unprocessed.
Why This Technique Works
For home batches, the useful goal is control over ingredients and texture. You decide which cut to buy, how much sweetness you want, and whether the chew should be gentle or stubborn. Preservation still requires a sound method. Each part of the process does a particular job:
- Lean meat provides the structure. Eye of round, top round, and bottom round are practical starting points. Visible fat gives you more trimming work and can become rancid during storage.
- Seasoning builds flavor. Salt, pepper, garlic, and optional sugar contribute different things. Soy sauce brings salt as well as savory flavor; adding it alongside a salty seasoning packet can overshoot quickly.
- Heating addresses pathogens. A salty or acidic marinade does not replace the recommended heating step. The temperature inside the meat matters, not just the number on the dehydrator dial.
- Drying removes moisture. Moving air carries water away, concentrating flavor and creating chew. Drying and heating have separate jobs; a dry-looking strip is not proof of safe preparation.
I have learned to change one flavor variable per batch. If I reduce sugar, swap sauces, and double the pepper together, I cannot tell what improved the result. A small batch with notes costs less than a full dehydrator of something nobody wants. That is especially useful when replacing a sweet store-bought favorite with a savory homemade version.
Read the back of the bag first
Start with the product description and ingredients, then check nutrition at the same serving weight. Whole-muscle jerky and ground-and-formed jerky have different structures. Neither description alone settles whether the finished food is ultra-processed. Check the formulation rather than guessing from the strip’s appearance.
- Compare sodium fairly. Compare bags per ounce or per equal gram weight. Eating two labeled servings means getting twice the listed sodium.
- Check added sugars. Honey, brown sugar, and syrups all contribute sweetness. A honey-based recipe is not automatically a lower-sugar recipe.
- Read curing claims completely. “Uncured” does not mean unprocessed. Some products use celery-derived curing ingredients; read qualifications beside “no nitrates or nitrites added” claims. USDA explains this labeling distinction for cured meat products.
- Check ingredients that matter to you. Soy sauce may contain wheat; formed products may contain soy protein. Ingredient familiarity is not a substitute for checking allergens or nutrition.
My buying preference is a recognizable meat cut, seasoning I actually want, and numbers that fit the portion I will eat. I would not pay extra solely for a rustic-looking pouch or the word “natural.” Those features do not answer the processing question.
Step-by-Step Method
Put those label-reading priorities into practice with a modest whole-muscle beef batch. Use an established home-preservation recipe, such as the National Center for Home Food Preservation’s jerky method, for the preparation framework. Keep your first changes focused on flavor, and retain its safety steps.
- 1. Buy lean and slice evenly. Start with about 1.5 to 2 pounds of round roast. Trim visible fat and partially freeze for easier cutting. Keep strips no thicker than 1/4 inch. Across the grain gives an easier bite; with the grain produces longer, tougher fibers.
- 2. Marinate under refrigeration. Measure ingredients and record amounts. The linked recipe allows 1-2 hours or overnight in the refrigerator. Longer soaking can increase saltiness. Keep raw meat at 40°F or below, and discard used marinade after preparation.
- 3. Heat before drying. USDA recommends heating beef to 160°F before dehydration, verified with a food thermometer; poultry requires 165°F. Steam or roast as directed. Insert a thin probe sideways into a thicker strip so its sensing area sits inside the meat.
- 4. Arrange and dry. Transfer with clean utensils to clean trays, leaving space between strips. For this approach, use a preheated dehydrator maintaining 140°F. Check chamber temperature with a suitable thermometer rather than assuming the dial is exact.
A cutting board, sharp knife, reliable thermometers, and an adjustable dehydrator are enough. I would put money into consistent temperature control before buying a slicer for occasional batches. Keep the raw-meat prep area separate from cooling and packaging space, especially when the garage workbench has other jobs during the week.
Price the finished batch
Compare cost by finished ounces, not raw roast weight. If meat and seasoning cost $18 and the cooled batch weighs 12 ounces, your ingredient cost is $1.50 per ounce before electricity. That is an illustration, not a promised yield. Weigh your own results. My practical money-saving call is buying lean round on sale instead of paying steak prices for meat that will lose substantial water.
Time, Texture, and Doneness Cues
There is no universal finish time. Thickness, tray load, airflow, and heating method all affect drying. For strips heated before drying, the National Center for Home Food Preservation advises beginning checks after about three hours. That is a checkpoint, not a promise that the batch is finished.
- Cool the test strip. Warm jerky feels more flexible. Let a sample cool before deciding whether the texture is right.
- Bend it. A dried test piece should crack when bent without snapping in two. This is a texture cue, not a pathogen test or a measurement of shelf stability.
- Check different tray positions. Inspect thicker pieces and slower-drying areas. One thin strip near the fan cannot represent the whole load.
- Remember the recipe. Sugar changes eating texture and can leave a tackier surface. A sticky glaze is not automatically evidence of a wet center, and a dark exterior does not establish doneness.
I have pushed batches too far by judging them hot and letting the timer run another hour. Now I cool samples before making that call. Cool the finished batch before packaging, too. I refrigerate homemade jerky and freeze extra portions; the National Center recommends refrigeration or freezing for better keeping quality. Follow commercial package directions after opening. A homemade zip bag does not inherit the storage life of a factory-sealed pouch.
Mistakes That Ruin the Batch
Chasing “unprocessed jerky” can encourage the wrong shortcuts. Removing sugar does not remove the need for heat and drying. Removing curing ingredients from an established recipe without checking its method can change its preservation system. Do not improvise curing-salt quantities or replace curing salt with ordinary salt by volume. Choose a tested method designed for the ingredients you intend to use.
Another expensive mistake is trying to fix everything with more drying. Uneven slicing gives you brittle edges and thick centers; an overly salty marinade stays overly salty. Start with consistent strips and measured seasoning. For a softer bite, try cutting across the grain before leaving more moisture in the finished product. Make the improvement at the step causing the problem.
Bottom Line
Jerky is processed food, including the simple batches I make at home. Whether a particular bag also qualifies as ultra-processed depends on its formulation. Read the ingredients, compare sodium and added sugar at equal serving sizes, and do not let “uncured,” “natural,” or “homemade” answer a question those words cannot settle.
For your next batch, buy lean meat, measure the seasoning, slice consistently, and follow the heating and drying method. Record the finished weight and what you would change. That gives you something more useful than an unprocessed claim: a batch you understand and can improve.