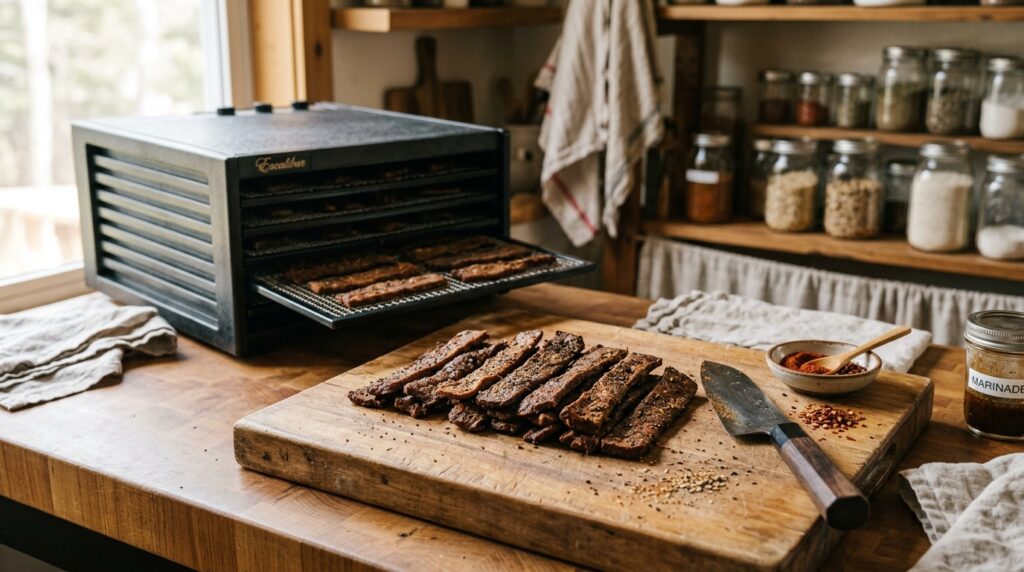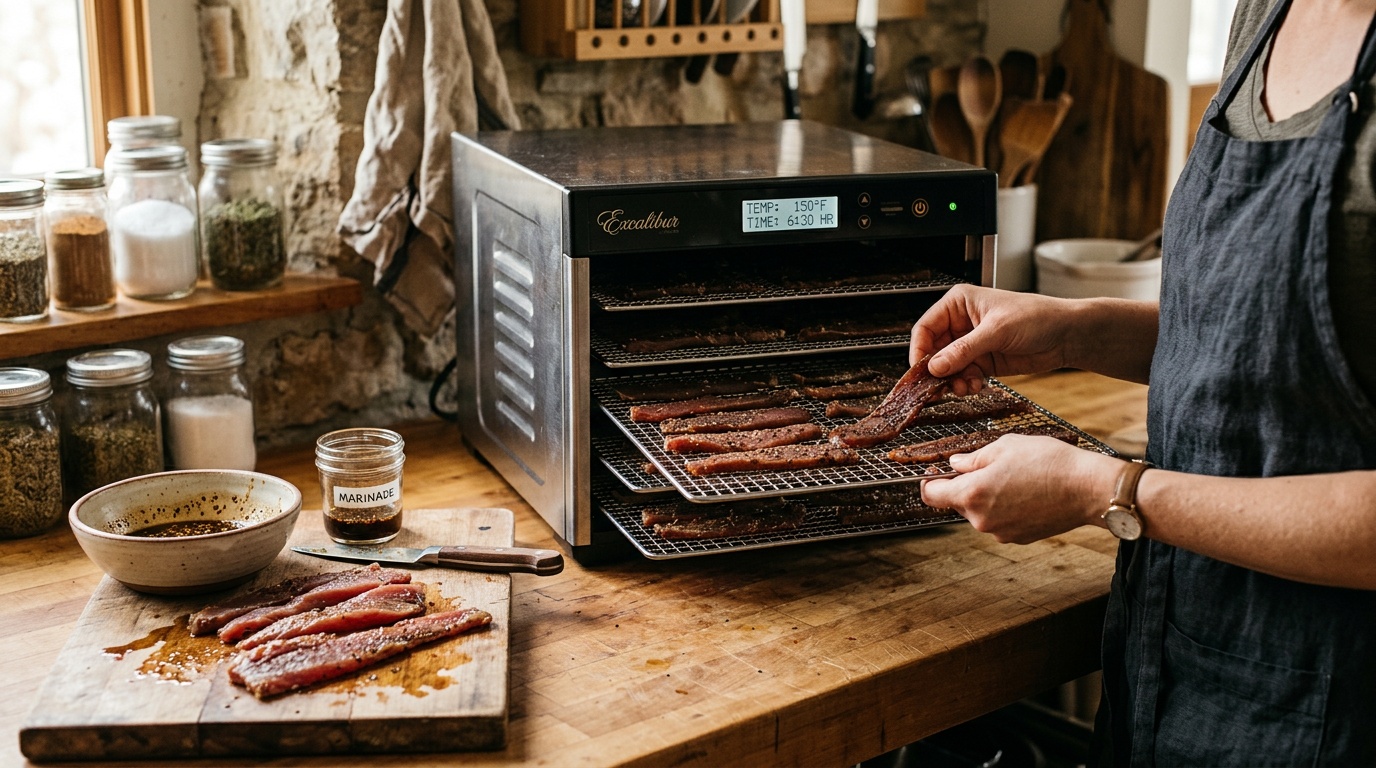
I make tuna jerky as a cooked, refrigerated snack: keep the fish cold, slice it evenly, heat it through before drying, and put the finished strips back in the refrigerator. That is the starting point for this tuna jerky recipe. A salty marinade and a dehydrator timer cannot rescue poorly handled tuna.
Eight years and more than 400 jerky batches in my Milwaukee garage lab have taught me to separate texture problems from safety problems. Too much sugar is fixable next batch. An unknown afternoon in a warm cooler is a reason to skip the batch entirely. Tuna makes that distinction especially important, and it also punishes the thick, uneven slicing you might get away with on beef.
The Short Answer
Use lean tuna loin, cut strips no thicker than 1/4 inch, marinate under refrigeration, cook before drying, and refrigerate or freeze the result. The recipe below uses a measured 160°F internal preheating target followed by a dehydrator set to 160°F. Those are different measurements: one is inside the fish, the other is the machine setting. Expect a firm, sometimes slightly flaky chew rather than a perfect copy of beef jerky.
This is a home cooking method for a perishable dried snack, not a validated shelf-stable tuna preservation process. FDA recommends 145°F internally for most cooked seafood; my 160°F preheat target is a more conservative cooking choice, not an FDA tuna-jerky standard. No cooking temperature makes temperature-abused tuna acceptable. See FDA’s seafood handling and cooking guidance for the underlying fresh-fish rules.
What Is Causing the Problem
Tuna jerky failures usually come from confusing four separate jobs: protecting raw fish, cooking it, removing moisture, and storing the finished food. Each needs its own control. A darker color or tougher bite only tells you something about appearance and texture.
- Warm handling can create a hazard drying cannot remove. Tuna can develop histamine when mishandled. Once it forms, washing, freezing, and heating cannot eliminate it. Buying properly handled fish and maintaining refrigeration matter before the dehydrator ever switches on.
- Drying air is not the temperature inside the strip. Evaporation cools wet food, much like sweat cools skin. A machine displaying 160°F does not prove that every raw strip reached 160°F internally.
- Uneven thickness creates conflicting results. Thin edges turn brittle while thick centers remain soft. Increasing drying time for the thick pieces keeps damaging the thin ones.
- Sugar and fat can imitate unfinished drying. A sweet coating may stay tacky after the fish underneath becomes firm. Oil can bead on the surface without being water. Neither appearance proves the batch safe for pantry storage.
The tuna-specific issue is histamine, also called scombrotoxin. It is not a problem you solve with extra soy sauce, smoke, or another hour of heat. FDA explains why chilling prevents histamine accumulation and why processing cannot remove it afterward. That is why my troubleshooting starts at purchase and thawing, rather than at the bend test.
Buy the loin that fits the job
For a first batch, I would buy modestly priced frozen yellowfin loin steaks from a reliable seller. Look for intact packaging and fish that is solidly frozen. Premium appearance is less useful than a dependable cold chain. The word “ahi” alone is not enough information: it can refer to yellowfin or bigeye, so check the species label.
| Tuna option | Practical tradeoff | My buying call |
|---|---|---|
| Lean yellowfin loin | Firm pieces are convenient for uniform strips | A sensible first-batch choice |
| Albacore loin | Fat and softness can vary; handle gently | Use a small batch and trim visible fatty areas |
| Lean bluefin loin | Can be dried, but premium pricing may dominate the batch cost | Only if the price makes sense |
| Fatty belly or toro | More oily richness than I want in dried strips | Save it for another preparation |
| Canned tuna | Flakes cannot follow this whole-strip method | Use a separate cooked-tuna recipe |
I do not buy expensive belly meat just to spend hours drying it. For batch economics, weigh your actual finished yield. If a hypothetical $12 pound produces 6 ounces, the fish alone costs $2 per finished ounce, before seasoning and electricity. That calculation is more useful than comparing the raw tuna price with a bag of finished jerky.
How I Fix It Batch to Batch
Start with one pound. It is enough to compare texture across trays without gambling several steaks on an unfamiliar machine. My main controls stay the same even when I change the marinade:
- Keep the raw tuna at 40°F or below during thawing and marinating; take out only what you are slicing.
- Cut consistent strips about 1/4 inch thick, roughly 1 inch wide, and short enough to lift without tearing.
- Measure the cooking step before transferring the fish to clean drying trays.
- Dry for texture and store cold instead of treating a timer or bend test as a shelf-life certificate.
I write down thickness, marinade time, preheat temperature, and when each tray finishes. Changing three things at once makes the next batch harder to diagnose. Keep the base recipe steady until you know how your machine treats lean fish.
One-pound tuna jerky recipe
This makes a lightly sweet soy-ginger batch. Allow about 25 minutes of active preparation, 2–4 hours of refrigerated marinating, a separate cooking step, and several hours for drying. Yield depends on trimming and final texture; weigh it instead of promising yourself a fixed number of servings.
- 1 pound boneless, skinless lean tuna loin
- 1/4 cup reduced-sodium soy sauce
- 2 tablespoons cold water
- 1 tablespoon brown sugar
- 1 teaspoon finely grated fresh ginger
- 1/2 teaspoon garlic powder
- 1/2 teaspoon ground black pepper
- Optional: 1/4 teaspoon crushed red pepper
The marinade seasons the fish; it is not a tested brine or cure. Reduced-sodium soy sauce helps keep the concentrated finished flavor manageable. Do not add oil. For a teriyaki-style version, increase the brown sugar to 2 tablespoons and expect a tackier surface. Bottled teriyaki sauces vary enough in sugar and thickness that I would test one on a half batch first.
Prepare, cook, then dry
- Thaw under refrigeration. Remove frozen tuna from vacuum packaging before thawing and place it in a covered dish in the refrigerator. Follow the package instructions. University of Maine Extension explains the reduced-oxygen concern with vacuum-packed fish.
- Trim and slice while firm. Slightly icy fish is easier to cut evenly. Remove skin, bones, tough connective tissue, and visibly fatty sections. Follow the visible muscle direction for strips that hold together better; cutting across it gives shorter, more fragile pieces.
- Marinate for 2–4 hours at 40°F or below. Combine the seasonings, coat the strips in a covered food-safe container, and refrigerate immediately. Turn gently once. Do not leave fish on the counter to “take the chill off.”
- Preheat the oven to 325°F and the dehydrator to 160°F. Drain the strips, discard the used marinade, and arrange the fish in one layer in a shallow baking dish. Cover tightly with foil so the surface does not immediately dry out. Bake until the thickest strips reach 160°F internally. Begin checking around 10 minutes, but use temperature rather than a fixed cooking time.
- Check several strips properly. Insert a thin probe sideways along the strip so its sensing area sits in the center, clear of the pan. Check different areas of the dish. If your thermometer cannot measure these thin pieces reliably, get a suitable probe before attempting the batch.
- Transfer immediately with clean utensils. Place cooked strips on clean dehydrator trays with space between them. Avoid overlapping and solid tray liners that block airflow. Handle gently: cooked tuna breaks more easily than raw beef.
- Dry at a 160°F setting. Start checking cooled samples around 2 hours; allow roughly 3–6 hours as a planning window, potentially longer with a heavy load or humid conditions. Remove pieces individually as they reach the texture you want. These times are estimates, not a validated safety schedule.
A thin-tip digital instant-read food thermometer is the first purchase I would make for this job. For equipment shopping, look for an adjustable-temperature food dehydrator with a fan and 160°F setting, removable washable trays, and usable space between racks. An independent air thermometer helps check the cabinet, but cannot replace the food probe. As an Amazon Associate, I earn from qualifying purchases.
If you want smoker flavor
For this first batch, use a small amount of liquid smoke according to its label in the marinade. A smoker adds another variable: whether it actually cooks and dries evenly. For genuine hot-smoked fish, follow a complete fish-smoking procedure, including its brining, heating, and storage directions. University of Alaska Fairbanks provides a home fish-smoking guide. Do not substitute a cold-smoke session for the cooking step here or assume adding smoke makes the finished strips shelf-stable.
What to Check First
When a batch looks wrong, check the biggest cooled strip and one from the slowest-drying tray. Warm fish can feel softer than it will after cooling. A bend test helps assess chew; it cannot measure pathogens, histamine, or water activity.
- Hard edges, soft middle: suspect uneven thickness or poor airflow. During an uninterrupted, properly heated batch, separate thick pieces and keep drying them. Next time, slice more evenly and leave more tray space.
- Sticky everywhere, firm inside: suspect the sugar coating. Do not dry every strip to chalk just to eliminate teriyaki tack. Reduce sugar next batch and keep the finished snack refrigerated.
- Crumbly or chalky: suspect thin slices, cross-grain cuts, rough handling, or excessive drying. If handling and cooking were sound, this is a texture failure. Chop the pieces over rice and stop earlier next time.
- Greasy beads: suspect the cut or added oil. Blot with a clean paper towel, then cool and refrigerate. Choose a leaner section next time; longer drying does not remove fat.
A finished strip should feel firm and dry through its center, with no wet pocket when torn open. It may flex, crack, or flake depending on the cut. My biggest texture lesson is to stop chasing beef’s bend: tuna’s structure is different. Record the texture you actually like, while keeping the cooking and cold-storage rules fixed.
Package it like cooked fish
Spread finished strips in a clean shallow container to release heat, then refrigerate promptly; do not leave them out overnight to “condition.” Keep at 40°F or below and use within 3–4 days, or freeze portions promptly. That is the cooked-leftover window described by Colorado State University Extension, deliberately applied here rather than claiming extra storage days from dryness alone.
Use ordinary food-storage containers for the refrigerator. Skip oxygen absorbers and vacuum storage for this refrigerated batch. Removing oxygen does not establish safe preservation. For outings, carry it with an ice pack. A dry-looking strip is still treated as perishable in this recipe; a home texture check cannot establish the water activity needed for a defensible pantry-storage claim.
When to Toss It and Start Over
Discard tuna with an uncertain cold chain, sour or ammonia-like odor, slime, or other spoilage signs. Also discard perishable fish left unrefrigerated during preparation, cooling, or serving for more than two hours total, or one hour above 90°F. Those are discard limits, not targets. If a power interruption leaves the batch lukewarm for an unknown period, start over. Normal smell does not clear mishandled tuna, and reheating cannot undo histamine formation.
Toss the entire affected container if you find mold; trimming fuzzy spots does not salvage jerky. If stored strips develop unexpected wetness and you cannot establish how long they have been damp, do not simply run them through the dehydrator again. Freshly cooked strips still progressing through a controlled drying session are one situation. Questionable food retrieved from storage is another. Never taste a suspect batch to decide whether it is safe.
Bottom Line
A useful tuna jerky recipe starts with reliable cold handling and separates cooking from drying. Buy lean loin, cut evenly, keep the marinade modest, measure the preheat step, and evaluate cooled pieces individually. Refrigerate the finished batch and freeze what you will not eat within 3–4 days.
For the next batch, buy one pound and change only one texture variable. My first adjustment would be slicing consistency, followed by sugar level. Get those right before spending money on premium bluefin or filling every tray.