What Is the Best Food Dehydrator for Jerky?
After making over 400 batches of jerky in eight years, I can tell you the best food dehydrator for jerky is one with horizontal airflow, adjustable temperature control (at least 145-165°F), and enough capacity to handle 3-5 pounds of meat at once. My top pick is a horizontal airflow dehydrator like the Excalibur models, but stackable tray dehydrators work great too if you’re on a budget.
I’ve tested cheap $40 units, mid-range stackables, and premium cabinet-style dehydrators. The good news? You don’t need to spend $300 to make excellent jerky. Let me walk you through what actually matters based on real garage jerky lab experience.
The Three Types of Dehydrators (and Which Works Best)
Every food dehydrator falls into one of three categories. Here’s how they stack up for jerky specifically:
1. Stackable Round Tray Dehydrators
These are the circular units where you stack trays on top of each other. The heating element and fan sit at the base, pushing air vertically through the stacks.
Pros:
- Cheapest option ($40-$80)
- Expandable — buy more trays as needed
- Compact storage
- Great starter option
Cons:
- Uneven drying (top trays dry faster)
- Need to rotate trays every 2-3 hours
- Round trays waste space with rectangular jerky strips
- Lower wattage means longer dry times
I started with a stackable round dehydrator and it taught me everything I needed to know. Just set a timer to swap trays around.
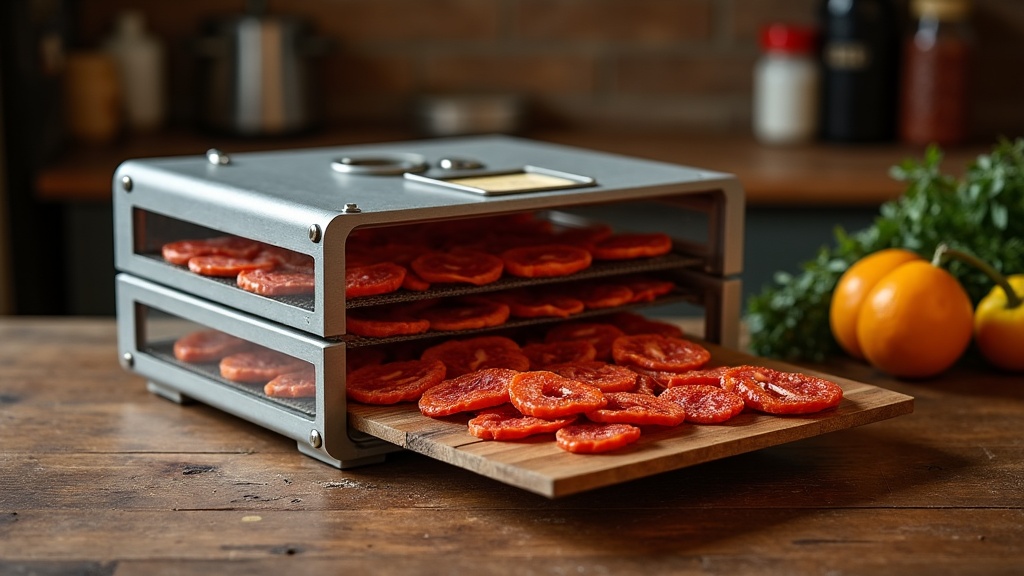
2. Horizontal Airflow Box Dehydrators
These cabinet-style units have the heating element and fan in the back, pushing air horizontally across rectangular trays. This is what I upgraded to after year two.
Pros:
- Even drying across all trays
- No tray rotation needed
- Rectangular trays = better space efficiency
- Higher wattage = faster drying
- More precise temperature control
Cons:
- More expensive ($150-$300)
- Takes up counter or shelf space
- Not expandable
If you’re serious about making jerky regularly, a horizontal airflow dehydrator is worth every penny. I haven’t rotated a tray in six years.
3. Countertop Hybrid Dehydrators
These are newer units that combine dehydrating with air frying or other functions. They look like toaster ovens.
Pros:
- Multi-functional
- Good temperature precision
- Modern digital controls
Cons:
- Limited tray space (usually 4-6 trays max)
- Can’t handle large batches
- Pricey for what you get
These work fine for occasional jerky making, but if jerky is your main goal, dedicated dehydrators offer better capacity per dollar.
The 4 Features That Actually Matter for Jerky
Forget the marketing fluff. Here’s what you need to check before buying:
Temperature Control: 145°F Minimum
USDA recommends heating meat to 160°F (165°F for poultry) before or during drying to kill bacteria. I pre-heat my jerky strips in the oven at 275°F for 10 minutes, then finish in the dehydrator at 145-155°F.
Your dehydrator needs adjustable temperature control. Those cheap units with just an on/off switch? Pass. You want a dial or digital control that lets you set anywhere from 135-165°F.
Airflow Design: Horizontal Beats Vertical
Horizontal airflow gives consistent results without babysitting. Vertical airflow works, but you’re rotating trays every few hours. After 400+ batches, I value my time. Horizontal airflow saves hours of messing around.
Capacity: 3-5 Pounds of Meat Minimum
A typical beef jerky recipe starts with 3-5 pounds of raw meat (makes 1-1.5 pounds finished jerky). Your dehydrator should handle that in one batch.
Here’s the quick math:
- 4 trays: Good for 2-3 pounds meat
- 5 trays: Comfortable for 3-4 pounds
- 9 trays: 5-7 pounds (my sweet spot)
Don’t buy too small. Making jerky in multiple batches because your dehydrator is tiny gets old fast.
Wattage: Higher = Faster Drying
More watts means more heat and better airflow. Here’s what to expect:
| Wattage | Typical Dry Time | Best For |
|---|---|---|
| 300-400W | 8-12 hours | Occasional use, budget builds |
| 500-600W | 6-8 hours | Regular jerky makers |
| 600W+ | 4-6 hours | Frequent batches, efficiency matters |
My 600-watt unit finishes jerky in 5-6 hours. My buddy’s 350-watt stackable takes 10-12 hours for the same batch. Both make good jerky, but I’m not running my dehydrator overnight if I can avoid it.
What to Look For at Different Budget Levels
Under $75: Entry-Level Stackable
If you’re testing the jerky-making waters, grab a stackable dehydrator with adjustable temperature. Look for:
- At least 5 trays included
- 350W minimum
- Temperature dial (not just on/off)
- Expandable to 8+ trays
You’ll need to rotate trays, but these units work. My first 50 batches came from a $50 stackable.
$100-$200: Mid-Range Excellence
This is the sweet spot. You can find solid square tray dehydrators with better airflow and digital controls. Some even have timers (which I never use, but some folks like them).
Look for horizontal airflow if possible. The jump in consistency is worth the extra $30-40 over a basic stackable.
$200-$300: Premium Cabinet Style
This is where you find the 9-tray cabinet dehydrators with massive capacity and commercial-grade build quality. I upgraded to this level after year two and never looked back.
Features at this level:
- 600W+ heating
- Horizontal airflow
- 26-hour timer
- Precise digital temperature control
- Can handle 7-10 pounds of meat
- Built like a tank
If you make jerky monthly or plan to expand into drying fruits, vegetables, or making dog treats, this is the buy-it-once tier.
Common Mistakes When Buying a Dehydrator
Buying Too Small
The biggest regret I see in jerky groups is people buying 4-tray units to “start small.” Then they’re immediately frustrated making tiny batches. Buy for the capacity you’ll want in six months, not today.
Skipping Temperature Control
Fixed-temperature dehydrators are trash for jerky. Different meats and cuts need different finishing temps. Ground jerky? 165°F. Thin-sliced beef? 145°F works. You need that adjustability.
Ignoring Tray Rotation Requirements
If you buy a vertical stackable and don’t want to rotate trays, you’ll end up with jerky jerky on top and still-wet strips on the bottom. Either commit to rotating every 2-3 hours or buy horizontal airflow.
Focusing on “Features” Over Fundamentals
Timers, fancy digital displays, preset programs — none of that matters as much as airflow design, temperature control, and capacity. I’ve never once used the timer on my dehydrator. I check jerky by feel and taste, not by the clock.
Do You Need a Dehydrator for Jerky, or Can You Use an Oven?
You can absolutely make jerky in your oven. I did it a dozen times before getting a dehydrator. Here’s the reality check:
Oven jerky works if:
- Your oven goes down to 170°F or lower (most go to 200°F minimum)
- You can prop the door slightly open for moisture escape
- You’re okay with higher electric costs
- You don’t mind heating your whole kitchen for 6 hours
Dehydrators win because:
- Lower temperature = better texture
- Continuous airflow removes moisture faster
- More energy efficient (cents vs dollars per batch)
- You can run them in the garage/basement
- Set and forget — no door propping
If you’re making jerky more than 3-4 times a year, a dehydrator pays for itself in electricity savings and convenience. Plus your kitchen doesn’t smell like teriyaki marinade for 8 hours.
What About Ground Beef Jerky?
A jerky gun works with any dehydrator, but ground jerky requires 165°F throughout the drying process (it’s ground meat, higher bacteria risk). Make sure your dehydrator can hit and hold that temp.
Ground jerky also releases more moisture and fat during drying. I put parchment paper under the trays or use the solid sheets that came with my dehydrator. Makes cleanup way easier.
Maintenance and Longevity
A good dehydrator should last 10+ years. Here’s how to keep it running:
- Clean trays after every batch: Warm soapy water, don’t put them in the dishwasher (they warp)
- Wipe the interior: Use a damp cloth to remove any marinade drips
- Check the heating element: If your dry times start creeping up, the element might be wearing out
- Replace the fan: Some units let you replace the fan — mine’s still original after 8 years
I run my dehydrator 30-40 times a year. Still works like new because I clean it properly and don’t abuse it.
FAQ
How many trays do I need for 5 pounds of meat?
You’ll need 5-6 trays minimum for 5 pounds of sliced beef. Each tray holds about 3/4 to 1 pound of raw meat depending on how thick you slice and how much you crowd the trays. I use a 9-tray dehydrator and fill 6-7 trays for a typical 5-pound batch.
Can I dehydrate other foods or is it just for jerky?
Dehydrators work great for fruit leather, apple chips, dried herbs, dog treats, banana chips, and vegetable crisps. I mostly make jerky, but I’ll throw in apple slices or make fruit rollups for the kids a few times a year. It’s the same machine, just different temps and times.
How long does jerky take in a dehydrator?
Beef jerky typically takes 4-8 hours at 145-165°F depending on thickness, marinade wetness, and your dehydrator’s wattage. Thicker strips or fattier cuts take longer. I start checking at 4 hours and pull pieces as they finish. Don’t dry by the clock — test for bendability and moisture level.
What temperature should I use for beef jerky?
I pre-heat my jerky to 275°F in the oven for 10 minutes to hit 160°F internal temp (food safety), then finish at 145-155°F in the dehydrator. If you’re not pre-heating, run your dehydrator at 160-165°F for the first 2 hours, then drop to 145°F. Check your dehydrator’s manual for USDA-compliant jerky instructions.
Is a dehydrator better than an oven for jerky?
Yes. Dehydrators give you better temperature control, more even drying, and lower operating costs. Ovens work in a pinch, but they’re less efficient and most don’t go below 200°F (too hot for optimal jerky texture). If you’re making jerky regularly, a dehydrator is worth it.

