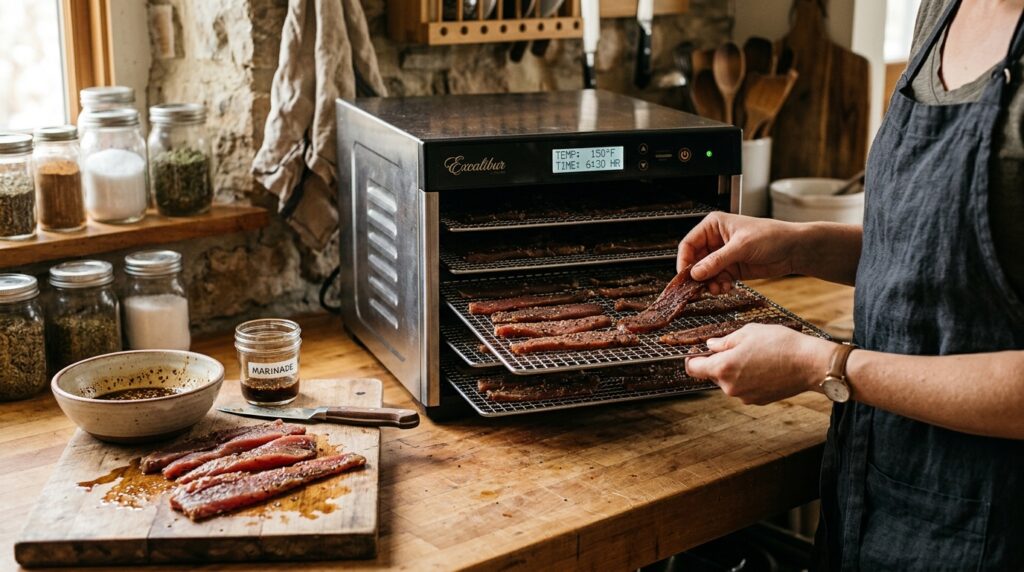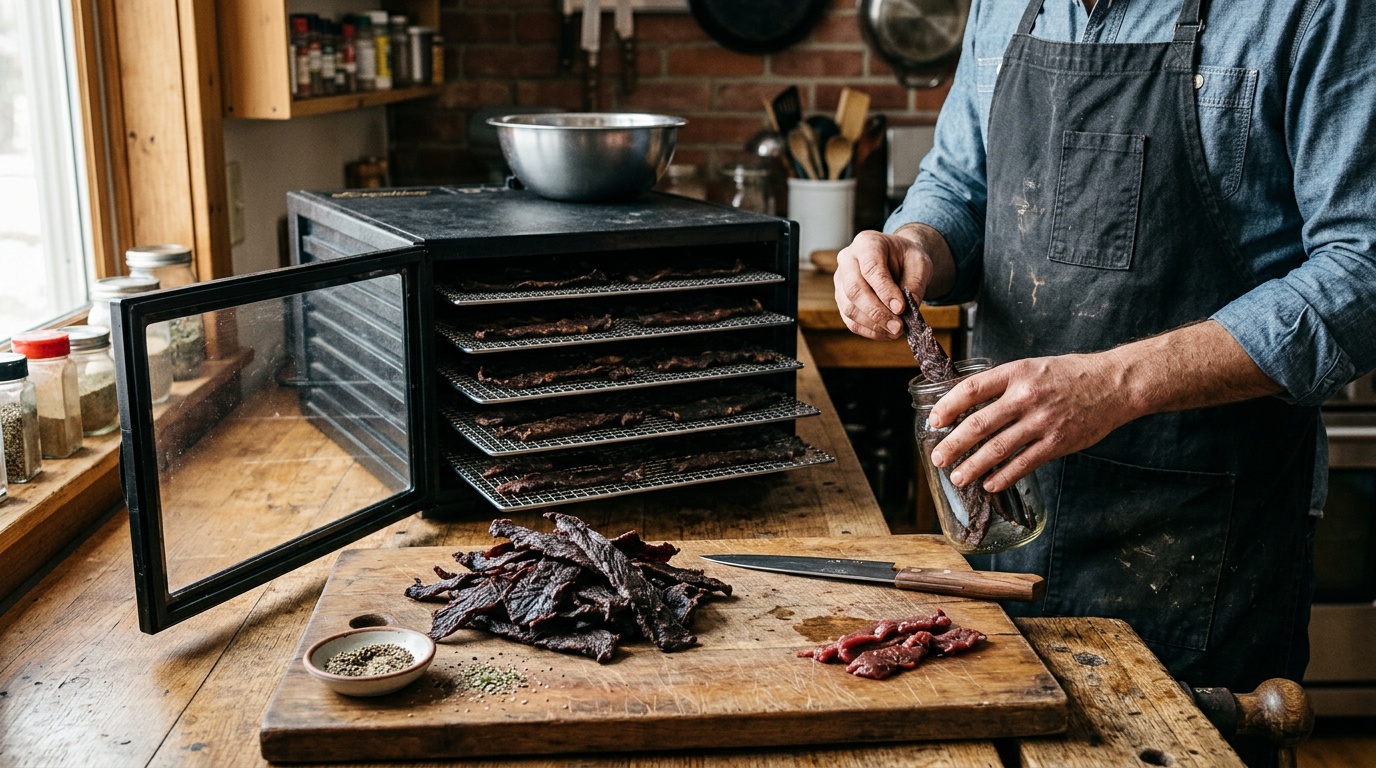
I would make this bison jerky recipe with top round, a pepper-and-garlic marinade, and a dehydrator. Slice it across the grain, heat the strips to 160°F before drying, then dry gently until a cooled piece cracks when bent. That combination gives you rich meat flavor and a manageable chew without spending steak money.
If you are trying to get a batch right without wasting good meat, After eight years and more than 400 batches in my Milwaukee garage jerky lab, my buying rule is simple: pay for usable lean meat, not a fancy cut name. With three kids working through the snack supply, finished ounces matter. Bison deserves a simple seasoning mix, but the bigger decisions are whole muscle versus ground meat and dehydrator versus oven. Here is how I would choose, plus a complete two-pound batch.
The Short Answer
Use two pounds of trimmed bison top round or eye of round, sliced about 3/16 inch thick and never thicker than 1/4 inch. Marinate for 6–12 hours under refrigeration. Precook the strips to 160°F internally, then dry at a verified 140–150°F. Start checking after three hours; precooked strips may finish around four to five hours, but thickness, loading, and airflow change the schedule.
The heating step and drying step do different jobs. USDA’s home jerky guidance recommends bringing meat to 160°F before dehydration. A machine set to 160°F does not prove that wet meat reached that temperature. This recipe uses a moist precook, followed by drying, and should be treated as refrigerated homemade jerky rather than a validated shelf-stable product.
Comparison Table
These are the practical routes for the same pepper-garlic flavor profile. Equipment cost refers to what you need beyond ordinary kitchen tools; it is not a current retail price comparison. Each drying method assumes the meat has already received its safety heating step.
| Option | Texture and flavor | Ease and cleanup | Cost tradeoff | Best fit |
|---|---|---|---|---|
| Whole-muscle bison, dehydrator | Distinct meat fibers; controllable chew | Even airflow; several trays to wash | Dedicated appliance if you lack one | Best overall for repeat batches |
| Whole-muscle bison, oven | Similar flavor; edges can turn brittle sooner | Needs temperature checks and rack rotation | Lowest equipment outlay with suitable racks | First batch or occasional use |
| Whole-muscle bison, smoker | Wood smoke adds depth but can cover the meat | Weather, heat, and smoke need attention | Fuel plus existing smoker | Someone already comfortable controlling a smoker |
| Ground bison, formed strips | Uniform bite with less stringy chew | No slicing; mixing and forming add cleanup | Compare lean percentage and price per pound | Readers who prefer a softer, formed texture |
| Lean beef round, same seasoning | Familiar beef flavor and fibrous chew | Same slicing and tray work as bison | Budget winner when locally cheaper | Routine family snack production |
My winner is whole-muscle bison in a dehydrator. The oven wins if buying an appliance would cost more than your first several batches of meat. Ground bison is a different texture choice, not a shortcut for this wet-marinated recipe.
Where Each Option Wins
Top round versus eye of round versus expensive steaks
Top round gives you broad pieces that are easy to portion into strips. Eye of round is more compact and makes tidy, consistent slices. Either is a sensible choice when the roast has little visible fat and minimal connective tissue. Bottom round can work too, but inspect it carefully: a cheaper sticker loses its appeal when you trim away a large seam.
I would leave ribeye and tenderloin for dinner. Their premium does little for a snack you are deliberately drying. Ask the butcher for a lean round roast and, if slicing is available, specify the thickness and grain direction. That instruction matters more than asking vaguely for “jerky meat.”
Bison versus beef is primarily a flavor-and-budget decision here. A well-trimmed beef round is also lean, so bison does not automatically win on drying speed or yield. Compare the actual cuts. Bison’s appeal is its rich red-meat flavor; heavy teriyaki sauce makes that extra expense harder to appreciate.
Bison jerky recipe: ingredients for a two-pound batch
This pepper-garlic blend keeps sweetness in the background. It contains no added oil and no curing salt. The seasoning is a home recipe, not a laboratory-validated preservation formula; follow the separate heating and storage instructions.
- 2 pounds bison top round or eye of round, weighed after trimming
- 1/2 cup regular soy sauce
- 2 tablespoons Worcestershire sauce
- 2 tablespoons water
- 1 tablespoon brown sugar
- 2 teaspoons coarsely ground black pepper
- 1 teaspoon garlic powder
- 1 teaspoon onion powder
- 1/2 teaspoon smoked paprika, optional
- 1/4 teaspoon crushed red pepper, optional
Batch planning: Allow about 30 minutes for trimming, slicing, and mixing, plus 6–12 hours of marinating, precooking time, and roughly 4–5 hours of drying. Keep extra water available for the precooking pan. Drying may take longer; do not schedule packaging around a guaranteed finish time.
How to make the marinade and prepare the meat
Whisk the soy sauce, Worcestershire, water, and sugar until the sugar dissolves, then stir in the seasonings. Taste the marinade before it touches raw meat. It should taste assertive, since only some stays with the strips, but remember that drying concentrates the seasoning left behind. There is no need for extra salt in the first batch.
- Firm and trim: Chill the roast in the freezer just until firm enough to slice cleanly. Remove external fat, silverskin, and tough seams.
- Slice consistently: Aim for 3/16 inch. Cut across the grain for an easier bite or with the grain for a longer chew. Separate unusually thin scraps so you can check them earlier.
- Coat thoroughly: Place the meat and marinade in a food-safe bag or nonreactive covered container. Separate folded strips and turn them until every surface is coated.
- Refrigerate: Marinate at 40°F or below for 6–12 hours. Turn the container once if convenient. An overnight soak is practical; a second day is unnecessary for these thin strips.
My texture choice is across the grain. If you want jerky that takes longer to chew, change the slicing direction before changing the recipe. NDSU Extension’s jerky guide explains this grain-direction difference and recommends lean meat because fat can develop rancid flavors.
Precook before choosing your drying method
Transfer the strips and marinade to a saucepan, adding enough water to cover the meat. Work in small batches so strips remain separated. Bring to a full boil and boil for five minutes; check several thick strips with a thin-tip thermometer, inserting the probe sideways into the center. Confirm 160°F internally before drying. This follows the moist-heating approach described by SDSU Extension.
Lift the heated strips out with clean tongs, drain, and blot surface liquid with fresh paper towels. Arrange immediately on clean drying racks. Keep utensils used for raw meat away from cooked strips. Discard the remaining cooking liquid after the batch; do not save it as tomorrow’s marinade.
Precooking changes the color and can give a more cooked flavor. That is an honest tradeoff. Research on commercial whole-muscle beef jerky found that drying conditions, including evaporative cooling and early-process humidity, affect pathogen destruction. It supports separating safe heating from drying; it does not validate a home bison recipe or justify copying commercial temperature schedules.
Dehydrator versus oven: temperature and drying time
Dehydrator: Set it to 145°F if available, keeping the measured drying temperature within 140–150°F. Leave space between strips. Check temperature near the trays with a separate thermometer and rotate trays if your machine dries unevenly. Begin testing cooled samples at three hours, then check about every 30 minutes. Four to five hours is a useful planning estimate for precooked strips, not a doneness guarantee.
Oven: Use 140–150°F if the oven can reliably hold it. Put strips on oven-safe wire racks over rimmed baking sheets. Use convection if available. If the lowest setting is 170°F, that can be a practical drying option after precooking, but expect faster edge drying and check earlier, around two hours. Follow the oven manufacturer’s guidance; do not improvise by wedging its door open.
How long should bison jerky dry in the oven? Budget roughly four to six hours for this thin, precooked batch, with substantial variation. At 170°F, some pieces may finish earlier. Move racks between positions as needed and remove finished pieces individually. The oven wins on initial cost, while the dehydrator makes gentle airflow easier to manage.
Smoker: Use the same precook, then dry at a measured 140–150°F only if your smoker can maintain it. Keep smoke light and the manufacturer’s ventilation settings appropriate. A smoker that struggles at low temperatures is a poor match for this method; use the dehydrator and optional smoked paprika instead. Smoke flavor does not replace the heating step.
What the Tradeoffs Feel Like in a Real Batch
Chewy versus brittle: judge a cooled strip
Let a test piece cool before bending it. It should be firm, with cracking fibers, without snapping like a cracker or showing a soft, wet center. Check the thickest pieces and different rack positions. This is a texture check, not proof of pathogen destruction or shelf stability. NDSU describes the same cooled-piece check in its drying instructions.
If thin edges break while the center stays soft, your next improvement is more consistent slicing and gentler heat. If everything becomes brittle, shorten the checking intervals near the finish. Do not deliberately leave wet centers to make jerky tender. Across-grain slicing gives an easier bite without relying on retained moisture.
One useful garage-lab habit is marking which tray holds the thin offcuts. Those little pieces can finish well before the broad strips. Treating every piece as though it owns the same timer is an easy way to waste expensive meat.
Yield and cost: buy finished ounces
NDSU gives a general estimate of five pounds of raw meat yielding about two pounds of jerky. Using that 40% yield as a planning assumption, two pounds would produce roughly 12.8 ounces. This is not a measured bison-specific result: trimming, marinade pickup, and final dryness all change the number.
For an illustrative comparison, suppose trimmed bison costs $14 per pound and trimmed beef costs $7. Two pounds cost $28 versus $14. At 12.8 finished ounces, that is about $2.19 versus $1.09 per ounce before seasonings and electricity. Substitute your own prices rather than treating those figures as current market quotes.
I would weigh the cooled batch and write the yield on the recipe. A bargain roast with heavy trimming can lose to a cleaner, more expensive cut. Likewise, buying bison in bulk only helps if you can freeze it in portions you will actually use.
Simple seasoning versus processing tricks
For more garlic, increase the powder slightly next time. For sweeter jerky, try one additional teaspoon of sugar before reaching for a thick glaze. Change one thing per batch so you can tell whether the improvement came from seasoning or drying. More sauce also means more sticky rack cleanup.
The research gets more elaborate. A beef brine-injection study reported drying times of 3 hours with its 30% brine treatment versus 4.67 hours without injection, under its experimental conditions. Those samples were injected, tumbled, and dried at 85°C. That is not evidence that pouring extra water into a home marinade makes bison dry faster.
Another beef study using controlled stretching during drying reported approximately 50% less drying time and favorable texture at 80% pre-stretching strain. Interesting processing science, but neither study tested this bison recipe. My practical choice remains uniform slices and open tray space; the papers do not supply a shortcut for a household dehydrator.
Ground bison and storage require separate decisions
Ground bison gives a more uniform bite because the long muscle fibers have already been broken up. Check the lean percentage instead of assuming every package is exceptionally lean. Grinding also distributes potential surface contamination throughout the meat. Use a tested ground-meat jerky recipe with its own seasoning quantities, forming directions, and heating procedure; do not pour this entire wet marinade into two pounds of ground meat.
For the whole-muscle batch here, cool before packaging, refrigerate promptly in small sealed portions, and freeze what you will not eat soon. Label each package with the date. NDSU recommends refrigeration for homemade jerky quality. Vacuum sealing does not establish shelf stability, and a bend test cannot measure water activity. If you find mold or spoilage, discard the affected package rather than trimming pieces.
Which One I Would Choose
For a first bison batch, I would buy two pounds of top round, slice across the grain, use the pepper-garlic marinade, and choose the dehydrator after moist precooking. An oven is a sensible substitute if you can monitor its temperature. Skip the smoker unless controlling it is already second nature, and save ground bison for a dedicated formed-jerky recipe.
For everyday snack volume, compare local beef-round prices before committing to bison. For a batch where you want the meat’s flavor to stand out, bison earns its place. Keep the seasoning restrained, record the cooled yield, and pay attention during the final hour. Those decisions do more for the next batch than another expensive gadget.